Cordage Pottery
|


note: I have only done this once (and with the help of an experienced teacher,, Dan Abbott). I did record the entire firing process (shown here), though I did not record images of the constructing of the two pots. The text below is as I remember the whole process. There is enough detail here to successfully make some pottery. wf
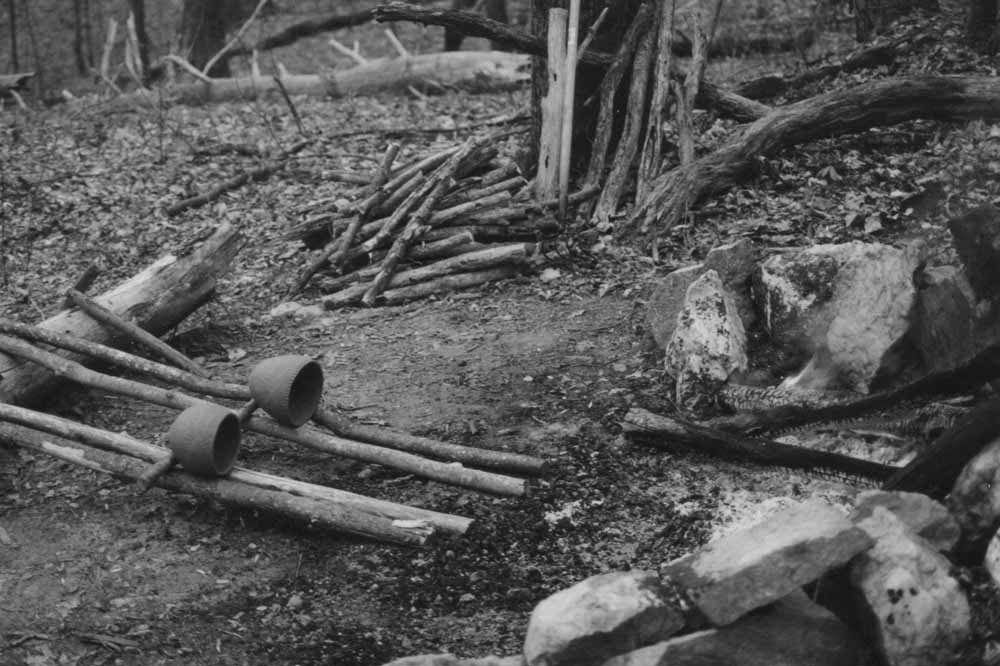
Pottery is
first made by thoroughly mixing and kneading a supply of clay with about
20% sand. This prevents cracking and gives strength to the clay. Pottery
is then formed by layering little-finger-sized coils in circular fashion.
Next, take a seashell or similar object and smoothe out the coils
both inside and out. Set the pottery aside to air-dry for at least 2 days.
Then, you can fire it into stoneware using the process below.
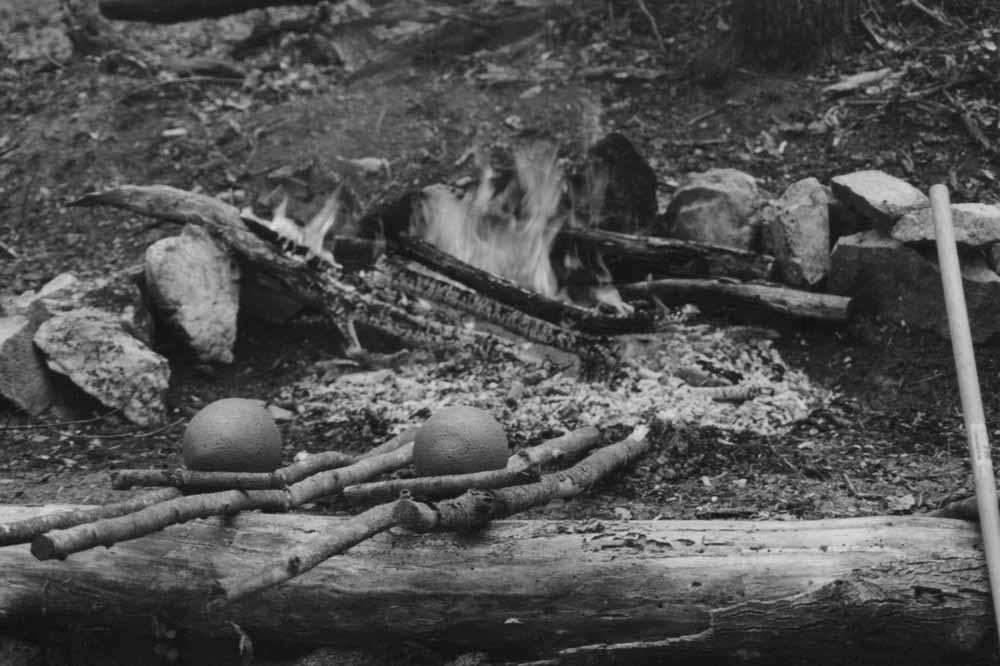
This final drying begins with a slow (maybe
2-hour) process of sliding the open face gradually toward a hot reflected
fire. On close examination, there will be a lighter (drier) portion
(closest to the fire heat) which gradually migrates rearward. When this
line between darker (damp) and lighter (dry) has moved all the way to the
rear, and the entire pot is the lighter (drier) shade, then this displacing
of moisture is complete.
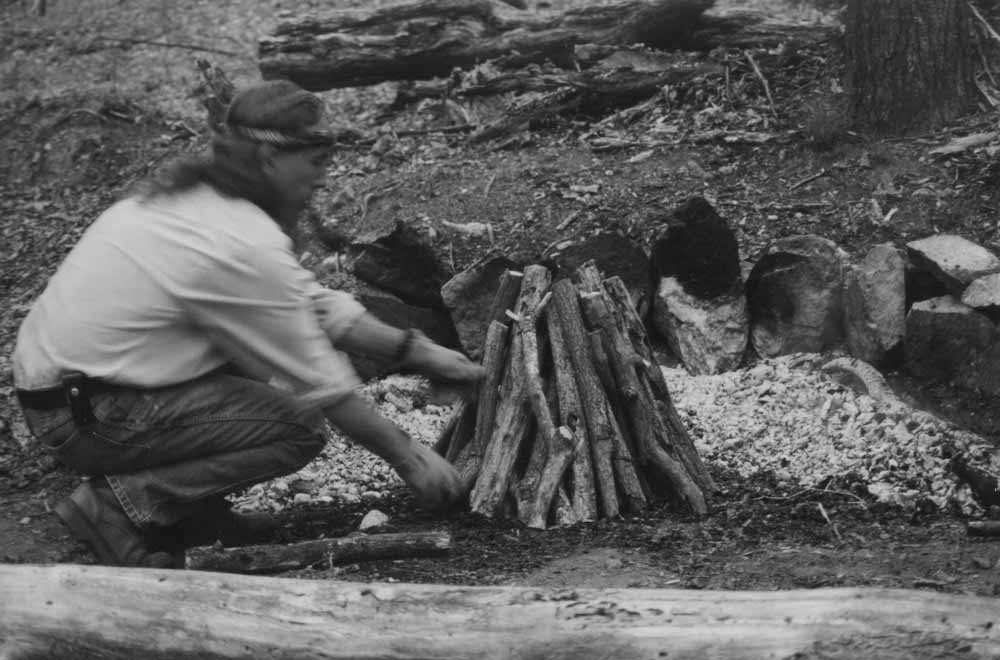
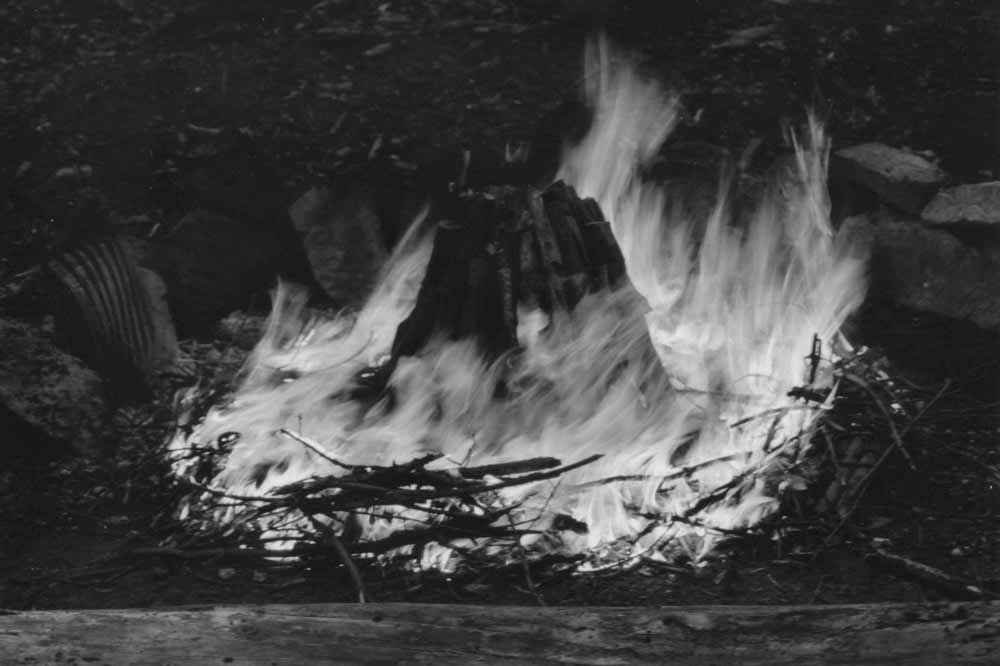
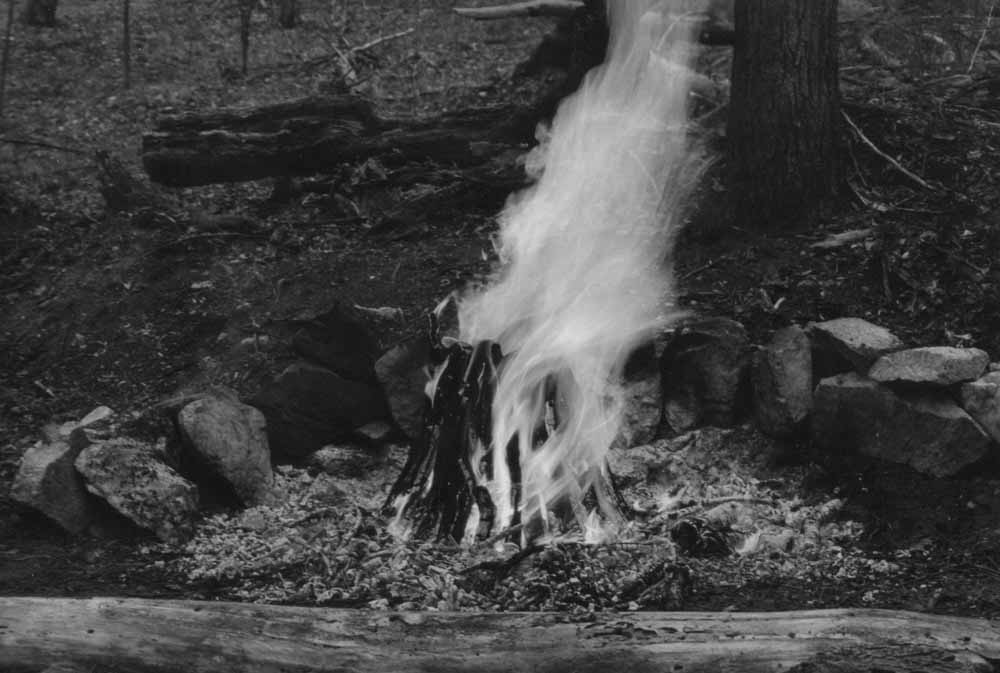
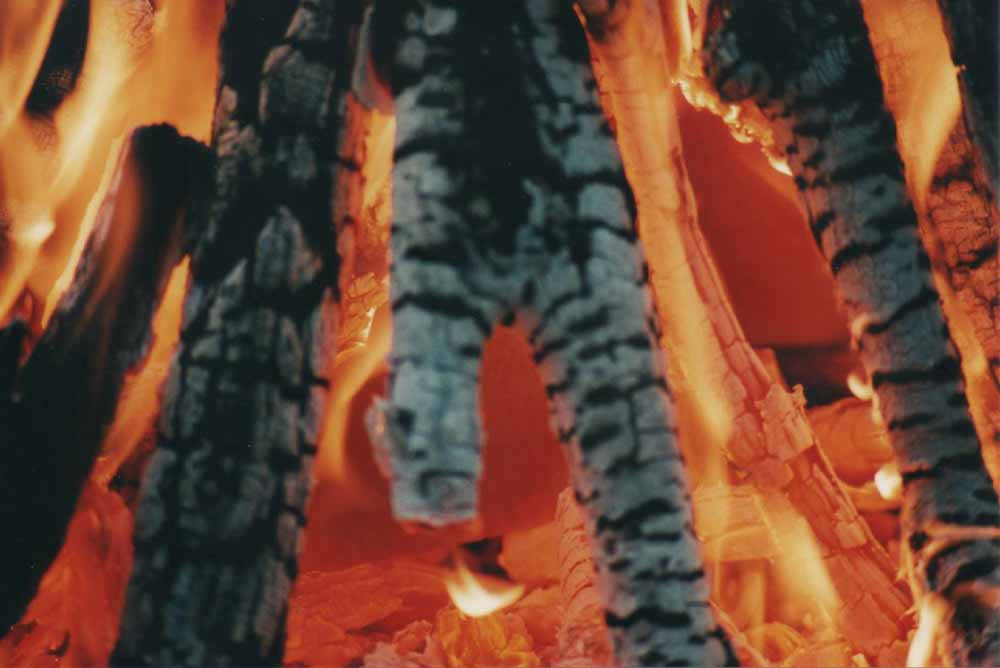
The final firing can then be commenced as also shown
below. The full-color image actually shows the 2 cherry-red pots within
the teepee-style fire structure. Once it is done, the
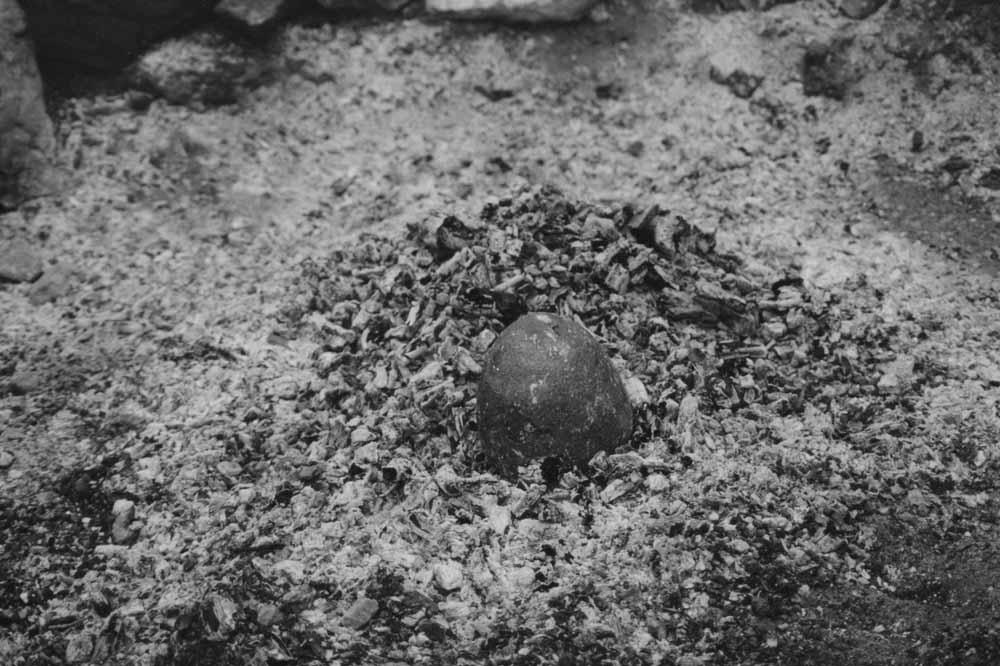
pot can be rolled aside to cool. At this point, you can balance it on your
finger (upside down from the inside) and thump it to hear it almost ring
like a bell. After you boil water or a stew in it, the moisture will
dull that initial bell-like quality from then on.
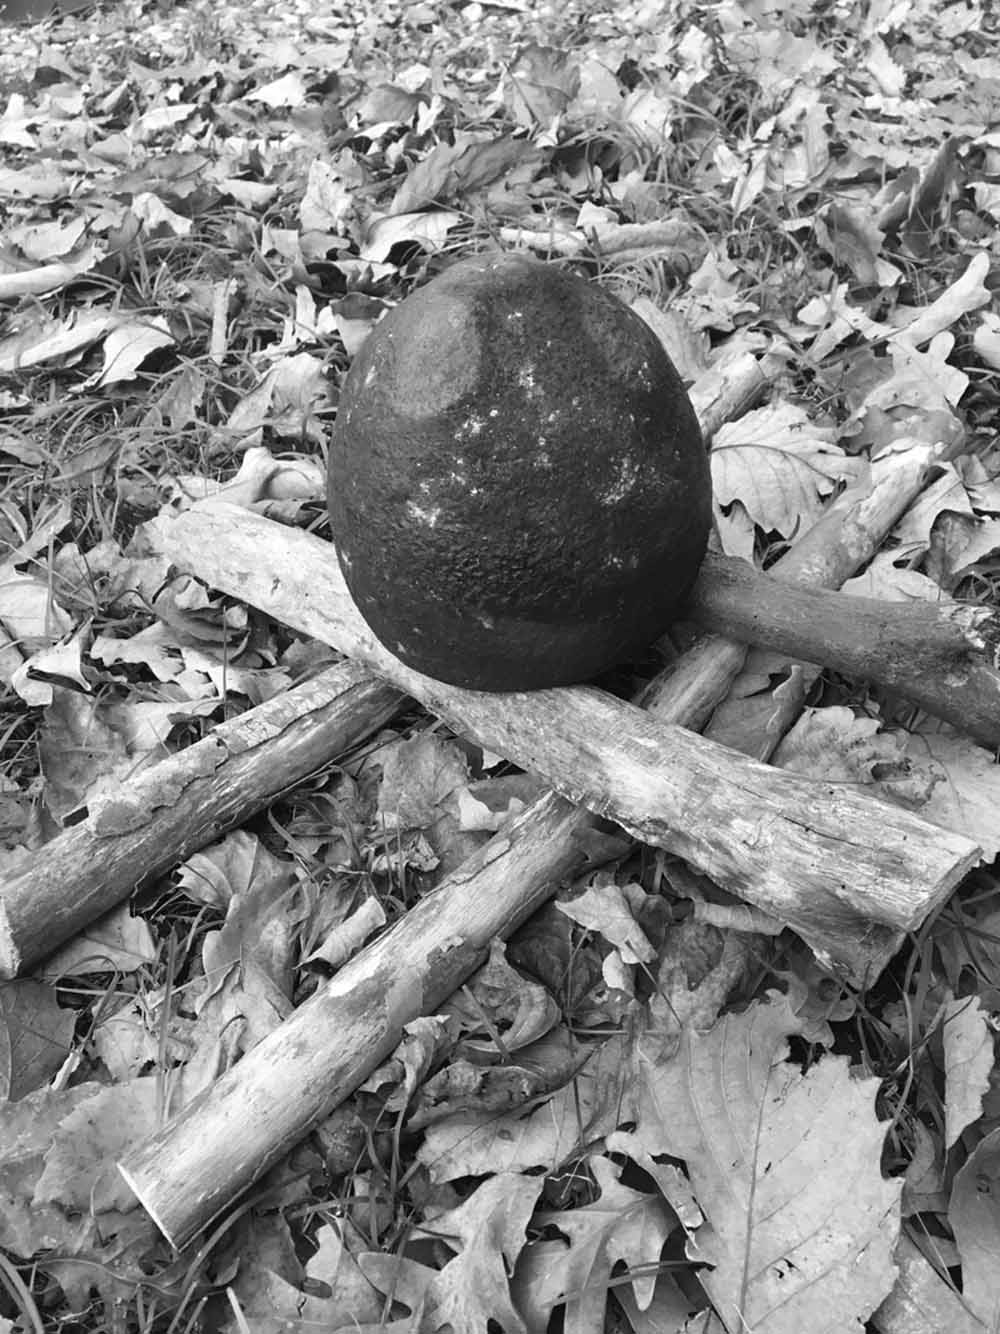
Use three tennis-ball-sized rocks to support it
up against a fire or on hot coals to cook a stew. The traditional
shape (as shown below) is very efficient. Also, the inward curvature
in the upper portion directs the rising hot liquid up and over toward the
center. This creates a constant stirring action.